Thursday 19 December 2013

Not so shabby dolls house

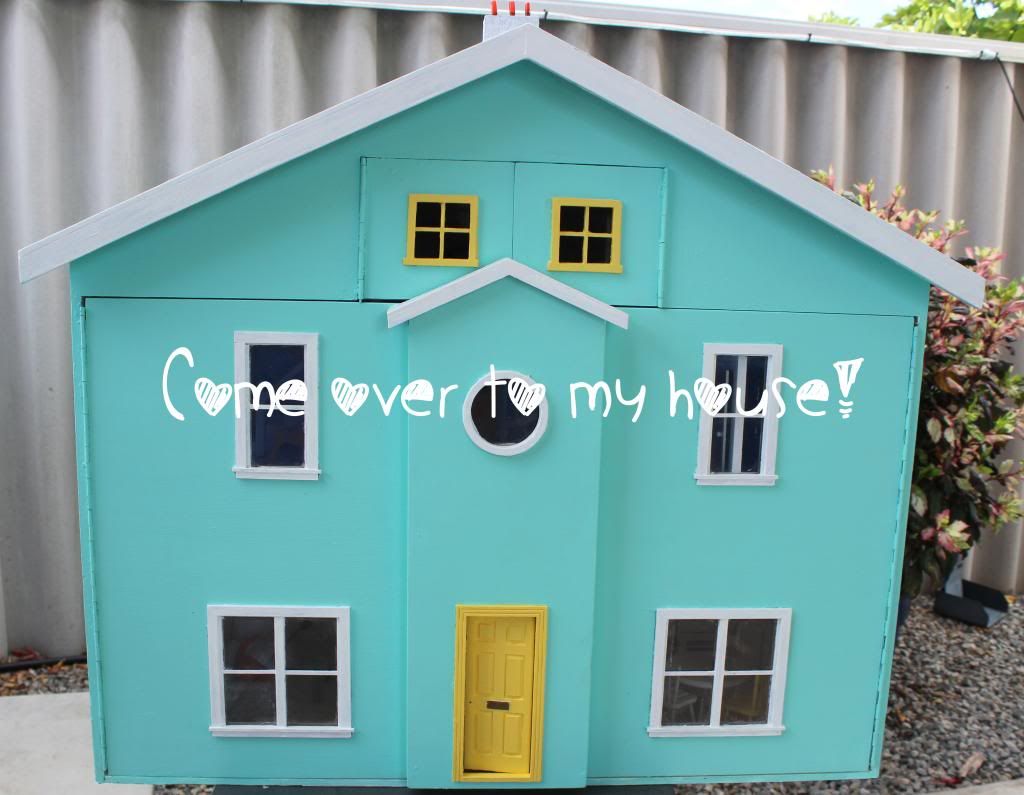
Its been a while since I posted anything about that old dolls house so I thought it might be about time to update you.


Modern dolls house, bright dolls house, doll house


Turns out that it is A LOT of work to rennovate a dolls house, maybe not as much as a people sized one but the tiny scale makes things more fiddly! It has taken me hours/weeks/months of sanding scraping, scouring ebay, hobby shops and the local trader to find the bits and pieces I need to finish it off. If I were to count up the hours it has taken me, it's pretty safe to say it would become clear I need more  to do with my time but it was a fun project and enjoyed every moment of it.

I have to confess its kinda hard not to turn into a crazy lady here too and get carried away. As I was excitedly showing a friend what I have done so far and what I had planned to do I started telling her how I needed to order some baulistrade for the stairs to which she kindly pointed out that would be important to stop any kids from falling down them....

Anyway enough chatter here she is....


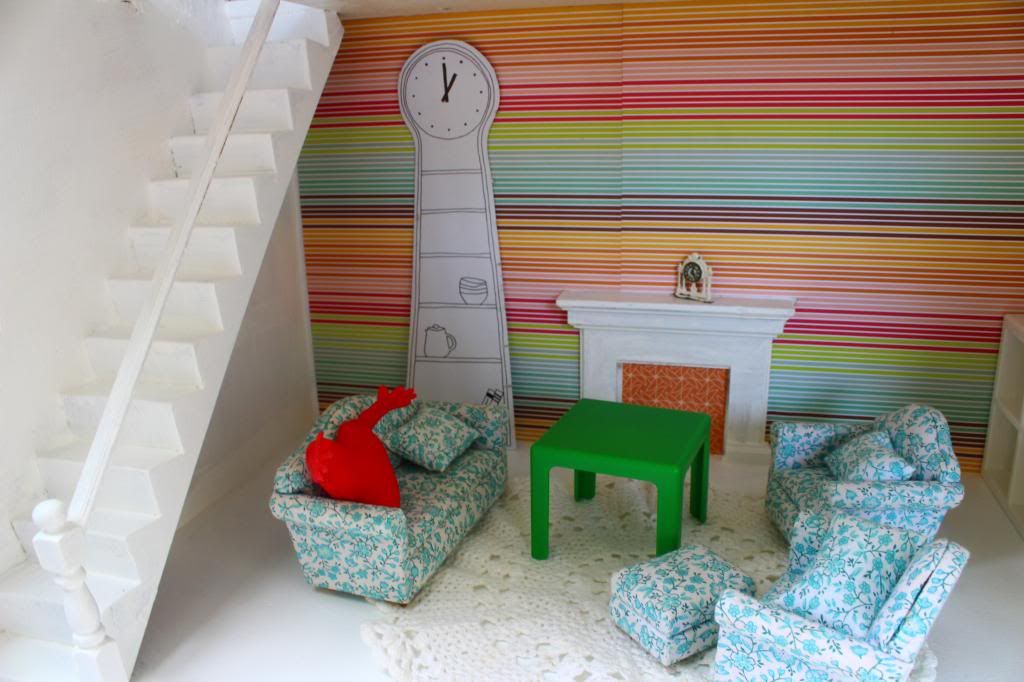
modern dolls house

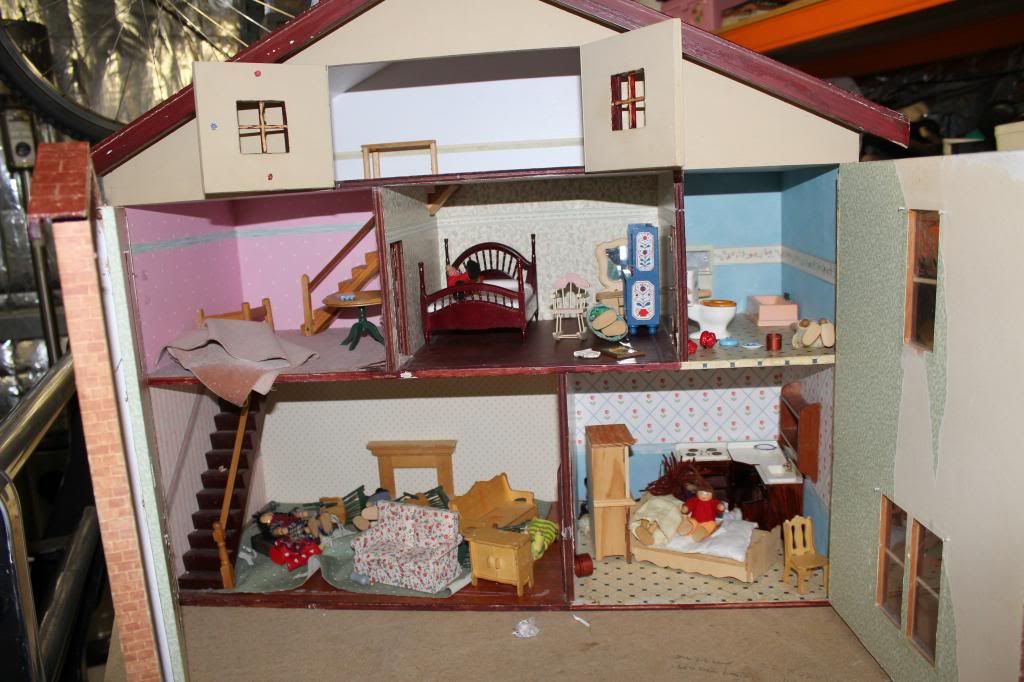
A cozy little lounge room -Sad to say tidier than my own will ever be


Monday 28 October 2013

Stating the obvious...


I have been disappointingly absent from my little blog for a while as it turns out running a household whilst doing my best to me a good mummy to a baby and a two and a half year old and everything else I want to achieve is actually super hard! Even as I write I have that bugging feeling there is something else I need to be doing..

I have been quite busy as of late though and if you would like to follow what I am up to please make sure you check out my Instagram account!

I have a few (hopefully) interesting posts in the works at the moment which I am just finishing off taking photos of. In the meantime I thought I might include some quick snaps of what we have been up to in the darling household...


healthy living

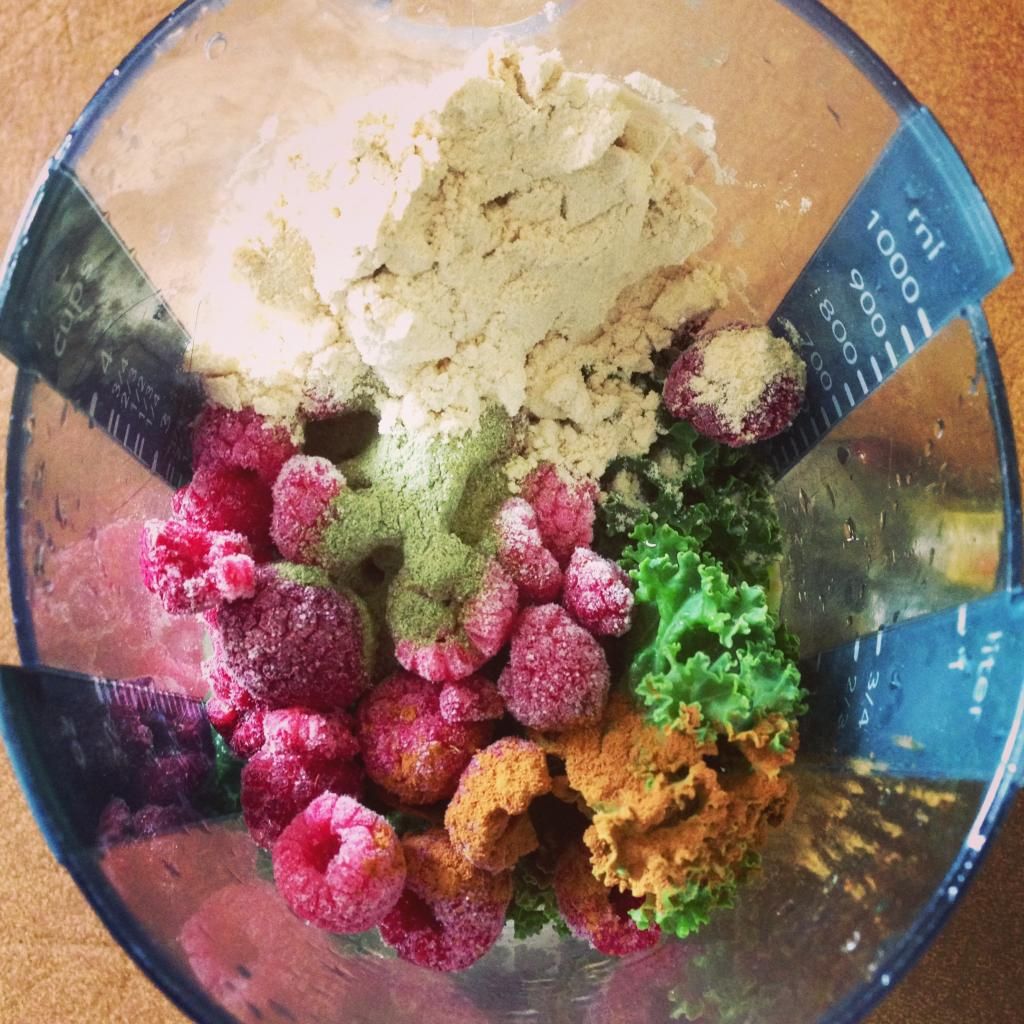
I made a wild decision back in May to make a bigger attempt at a healthier lifestyle for myself. Green smoothies, lots of veggies and no more cake and sugar for me! Turns out its agreed with me and I feel better than ever plus I had the added bonus of 13kg lost from le bum hopefully forever!


Saturday 17 August 2013

Sugarfree gingerbread cookies


While the tearaway princess (Little B) is asleep and baby Alice is playing happily on the floor...


I thought I would grab a quick chance to post about my latest project and share a recipe we are really loving in our house at the moment.

I have had a pretty big change of heart about the food I and the rest of my family eat and we are now making a big effort to go “sugarfree” I saying sugarfree in quotations because by this I really mean fructose sugarfree.

It all started with me getting into trying to get healthy and back into shape after Alice was born and is grown from there. I won’t preach to you about it all but if you are not already on the bandwagon, it’s really worthwhile taking some time to do some reading of your own and make your mind up.

In the meantime I wanted to share a recipe I have adapted that is great for kids as it contains no fructose (the sugar that makes kids crazy) but is still a nice yummy treat. Little B just loves these so they have officially been kiddo road tested!


Wednesday 3 July 2013

Cute vintage dolls house


Little B is at a fun age now, she is really getting into imaginative play and just watching the stories she creates is better than a Bold and the Beautiful episode. So when she said pointed out a dolls house as a possible present from Santa for Christmas I was super excited.

So now I have a new obsession... Dolls houses.


After hunting around I couldn't really find anything new that fit within my preferred budget. Ideally I wanted one that was big enough that both girls can play with at the same time, with a closable front to keep little Alice out until she's older and nice and sturdy so it can take the sometimes rough play that goes hand in hand with little children. 

After seeing this one by NZ blogger Megan from Mousehouse I felt so inspired to do up an old one. It's amazing isn't it!?


I just love this bright cheery little house and it is oh so stylish to boot. For more pictures head over to her blog to check it out!

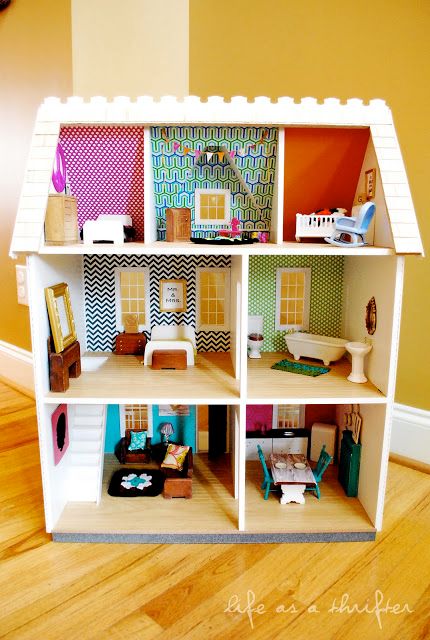
Or this one from Life as a Thrifter


Totally cool isn't it?!


I found this one on the local online trader and before I knew it we had it in our garage.


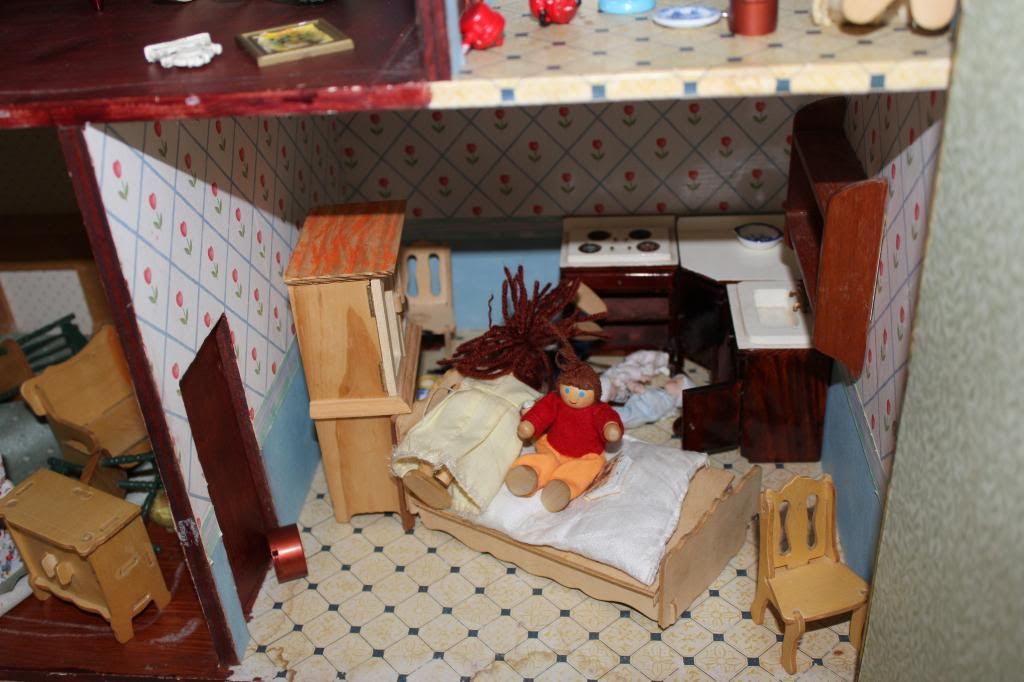
As an added bonus it comes with a decent amount of furniture already which I can't wait to get stuck into refreshing.

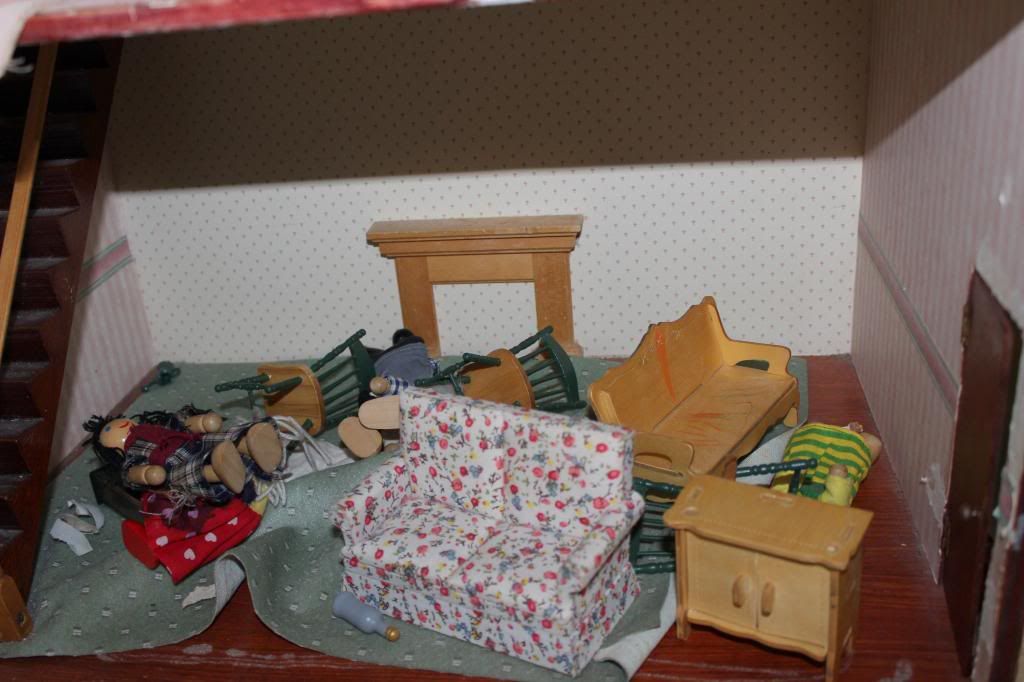
 I am thinking that the doll parents must have left the doll teenagers at home alone over the weekend here hehe


Teenagers today hey?!!


Fortunately it should be easy enough to make a start in tidying things up a bit after this party


Once it's all stripped back and repainted I will get onto the fun bit of decor. I have a very sweet little stash of scrap booking and wrapping paper just hanging out to be used for a fun project like this.

xo

Tuesday 18 June 2013

Easy layercake quilt

I had big plans when I was expecting of making a lovely baby cot quilt for B2. I had the sweetest collection of circus themed fabric lined up to make it with, it was quite boyish which was fine because despite having another surprise I was convinced beyond all doubt B2 was a boy....

Entering a week late we got to meet our little "boy" Alice so I couldn't have been more wrong!

Fast forward to a few weeks ago and I was suddenly inspired to put something together for her. Given that I'm running around with a two year old and a newborn these days, taking a trip to the local fabric shop is something out of a nightmare so my best bet was online!

I'm by no means a quilter I just dont have the skills or patience for creating those beautiful works of art but I like the idea of it.

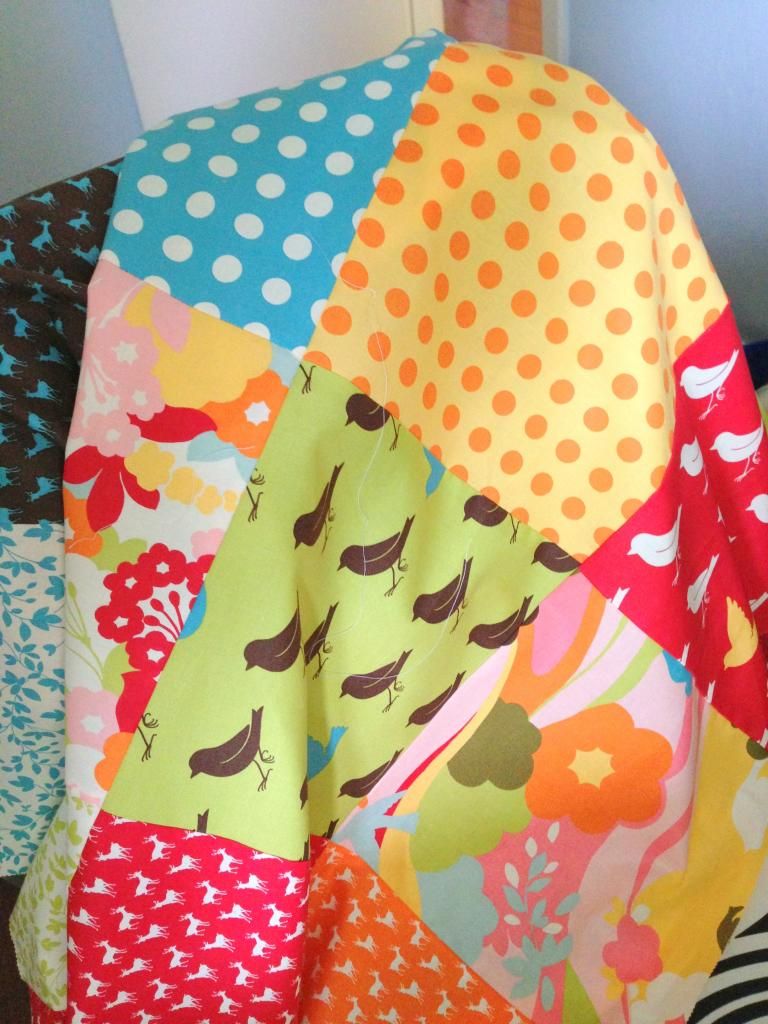
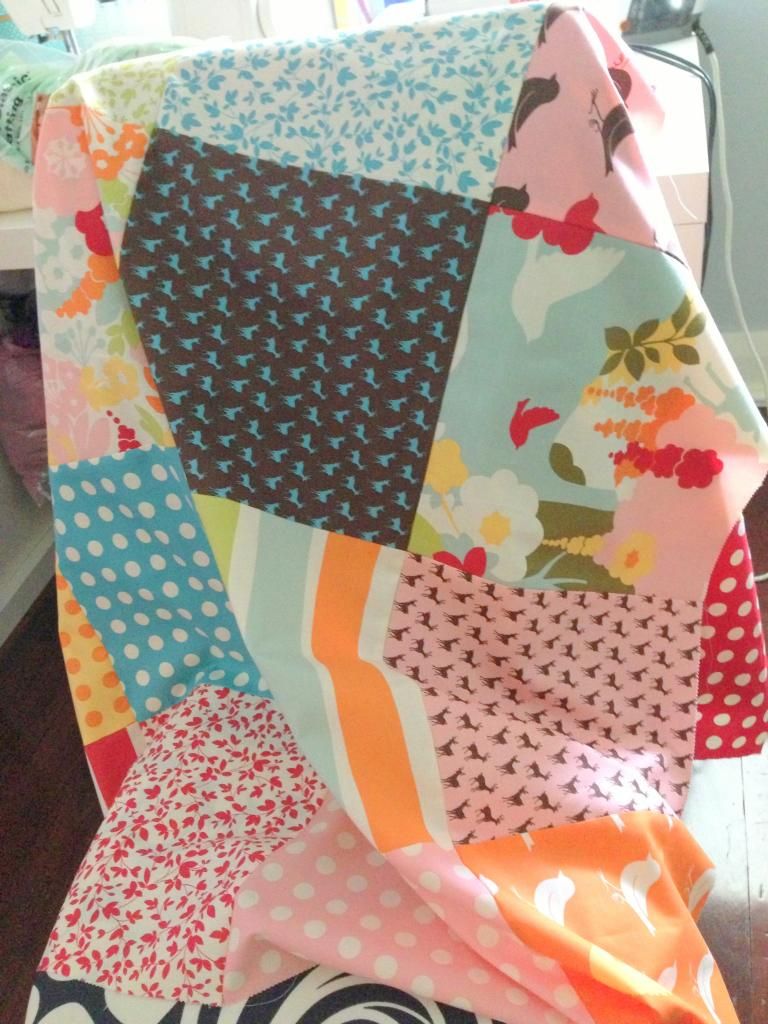
This little baby quilt was very quick and simple to make. By using a layercake I saved myself a lot of time selecting and cutting fabrics which is something I don't have a lot of patience for!


modern quilt


Cute easy quilt


I really like the look of a modern quilt without binding so I followed this tutorial by Red pepper quilts...


layercake quilt


Be warned though using this method to finish your quilt is NOT quicker or easier, I just felt that the modern fabric worked better minus the binding. If you wanted to use binding on yours I love this tutorial it's the one I always refer to when I do use binding from Sew inspired. Honestly after following this tutorial, I felt really silly about being so scared of binding!


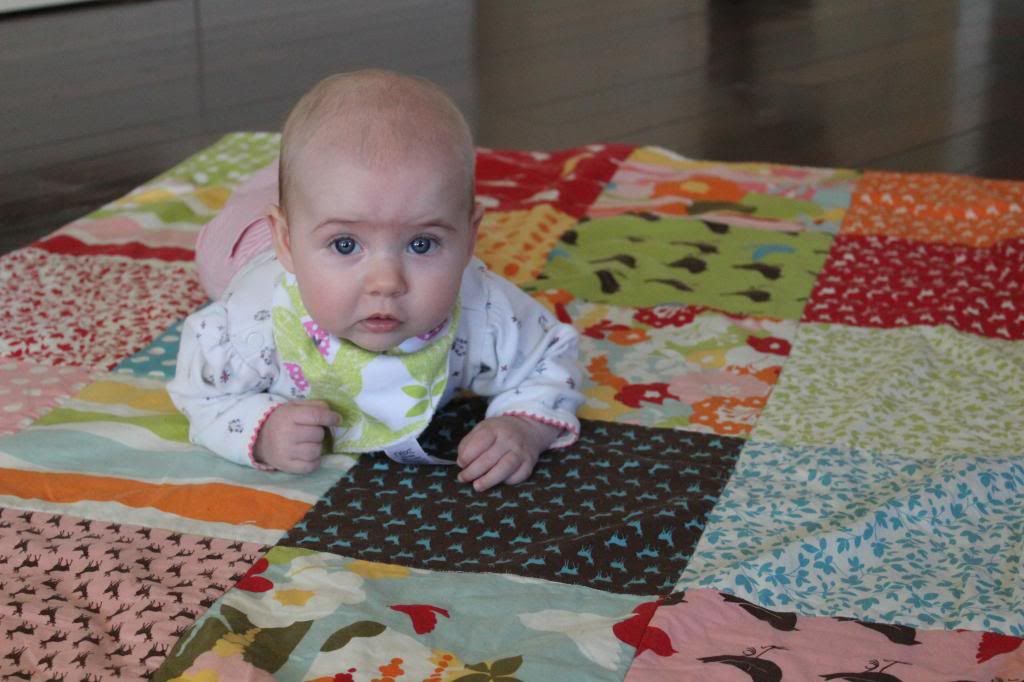
Little Alice has given it the official thumbs up!


colourful quilt


xo

Monday 3 June 2013

Basic muffin recipe

Chilly Sunday's are a day for baking don't you think?

Even better when you have a highly skilled taste tester to assist

easy muffin recipe


I love using this recipe as a base to make pretty much any flavor that takes my fancy. It lends itself well to both sweet and savory muffins and is so quick and easy to make. I always find them light fluffy and moist so they won't fail to disappoint.

Recipe for 12 plain muffins

220g sifted self raising flour
1/2 cup caster sugar **** to make savory muffins omit the sugar
3/4 cup full cream milk
1/2 cup vegetable oil
1 egg lightly beaten

Pre heat oven to 160degC and line a 12 hole muffin tin with paper pattypans
Add all dry ingredients into a bowl and make a well in the centre

Combine all wet ingredients in a jug and pour into the well

Mix carefully until just combined and then transfer into your muffin tin.

Bake for 20-30 mins until cooked.


This variation is for double choc raspberry muffins


chocolate and raspberry muffins


20g dark cocoa
1/2 cup milk chocolate chunks
1/2 cup raspberries
1tsp vanilla extract
Extra 1tsp oil
Extra 1tsp milk

Pretty damn delicious with a hot coffee for afternoon tea


And this variation for cheese and bacon muffins

4 rashers of cooked chopped bacon
2 TBS whole grain mustard
1/2 cup grated Parmesan
1 Tbs chopped parsley
Cracked pepper
1/4 cup cheddar cheese for sprinkling on the top
Optional 1Tbs of milk to brush the muffin tops

I like to think this version is the healthy option but who am I kidding? These muffins work well with wholemeal flour, corn, grated zucchini, sundried tomatoes and fetta cheese if you want something a little healthier.

The possibilities are endless!

If you have any great ideas for muffin flavour combos I would love to hear about them!

Friday 12 April 2013

Paint chip bunting artwork

Just because I don't have enough to do (haha) and I was feeling inspired I wanted to make use of all those paint charts we no longer needed from repainting B2s nursery.

My original idea for this room was a neutral wall colour with lots of bright pops of colour to make it fun. I have seen a few of this kind of thing on the net so I'm not even going to pretend that I came up with the idea all on my own but this is my version using paint chips to make bunting canvases.


recycling paint chips


I am pretty sure I saw the original idea here if you would like to take a look at a different version

I picked these little square canvases up at a 2$ shop and they have been sitting around the house for a while waiting for something magical to happen to them.

Once I worked out a good shape for the individual bunting flags, I used one as a template to cut out a nice colourful pile of them.


Once I decided on a layout I was happy with, out came my sharpie to draw in the bunting string.


In hindsight, I think I actually preferred the look without the sharpie line but I am not unhappy with how it looks.

Once my line was in place it make it easy to act as a guide to place my glue blobs to stick on the flags. I found it was easier to add the glue directly to the canvas and slide the flag into position than to glue the flag and then stick it down.


This is the end result!

paint chip recycling


Don't they look cute all ready to hang?


Thursday 24 January 2013

Room Transformation part 2 (and a paint calamity)

After a whole lot of agonising, we decided to paint B2s room a calming grey.


Typical man style, Mr Domestic didn't care for the finer details of what grey we would use, nor was he interested in getting some sample pots and testing out the different options. He bluntly told me "just pick a grey and I will go and get it, we are not mucking around with samples". I bit the bullet and picked a colour and crossed my fingers that it was going to work!


A very tired and unimpressed Mr Domestic


Here we are all ready to roll!


First coat went down and I was feeling pretty happy with how it was looking and then we ran out of paint...

Not really a big deal as we are only 10 mins from the hardware shop so a quick drive and Mr Domestic was back on the job with the second coat.


Hang on, there is something not quite right here, should the second coat look like a totally different colour to the first coat and the cutting in?


Mr Domestic assured me that it just needs to dry and it will lighten up to the right colour.


The next morning we have this


Well at least I know I am not crazy and seeing things!

Another trip to the hardware store to find out what on earth they have given us and half a day of painting  later we are back in business.

It turns out the person mixing the paint used the wrong brand of paint colourant to mix up our second batch. The moral of this story is to always double check they are mixing the exact same colour, take the original paint tin with you so you can be 100% sure. It will save you a whole lot of extra work!


Ahhh that's better


1950's art deco ceilings

These beautiful ceilings are why we fell in love with this house when we were looking to buy. If only we knew then what we know now how much work it took to finish off the rest of the house! (we would have still bought it haha)


Mr Domestics man style DIY curtaining, a white drop sheet will have to do until the Roman blinds are ready. Little B2 will be sharing his or her sanctuary with mummy's sewing things until our extension is up and habitable


Here we are looking back at the new wall which once opened up into the kitchen.

I am really loving the soft colour of the grey against the white window trims and ceiling I think B2 will love their new room too.

Obviously we have a fair bit left to do here until this is a finished room, but its starting to come together pretty nicely don't you think?


XO


Tuesday 22 January 2013

Little B's Big girl room

Little B doesn't know it yet but she is about to make a very charitable donation of her cot to the new baby. Seeing as she will have no bed we figure its only fair that we make sure we replace it with something nice for her.

After having a brief look around for bedroom settings and then Mr Domestic setting my budget at "spend as little as possible" I took this as a fun but time consuming challenge! After visiting her gorgeous cousins in the Hunter Valley and seeing cousin Rubes beautiful room, I have been totally in love with vintage style wrought iron beds.

With this in mind, I was inspired to create a fun eclectic room for little B that felt inviting and girly. I wanted the room to be able to grow with her so lots of good storage and easily update-able pieces were a must.


We found this darling bed in the local online classified and it was a done deal


vintage girls bed


vintage wrought iron girls bed


Next on the agenda was a dresser to keep her mountains of clothes, accessories and shoes nice and neat and I just couldn't go past this one at Ikea (on sale I might add!). With a few personalized touches I think it will be perfect.

Ikea dresser


My best "buy" yet is this sweet little trunk, my neighbors actually left out on the road side for collection. A few coats of white spray paint and some scrap fabric and quilt batting left over from a previous project and it is the perfect place to store some of her unused toys. You would never know its a roadside freebie!

updated toy trunk


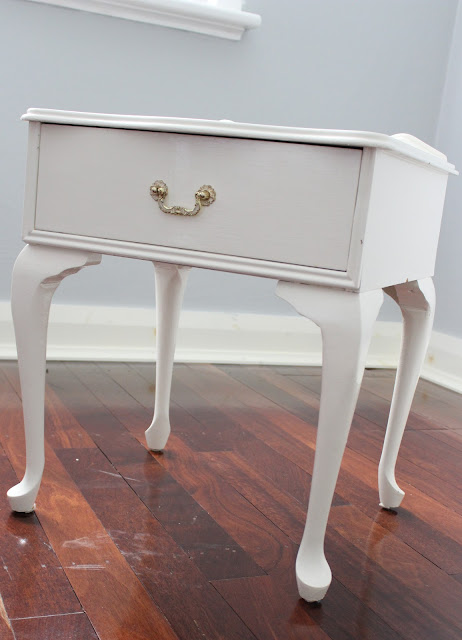
My last purchase is this little queen Anne bedside table. I'm not sure what it was about this particular style but I was like a woman on a mission looking through the classified ads until I found this exact one.

vintage bedside table
Don't mind my super clean floors in this picture!


I might be crazy but I think this needs to be another colour just to break up all the whiteness of everything...

All up including paint, fabric and a new mattress, this still worked out less than a cheap and rickety bedroom setting from a budget furniture store which has kept Mr Domestic happy and little B is over the moon with her big girl things.

Still have a bit to do before we can sign off on this one but we are almost there....

Xo


Sunday 20 January 2013

Getting busy with a room transformation part one

My countdown is on- the countdown until B2 makes his or her arrival and don't we have a lot to do! A few weeks ago we had a small scare with little B2 and weren't sure if they would be making an earlier than expected arrival, thankfully all good now but it's finally turned me into a (crazier) pregnant woman on a mission to get things done.

We have an amazing family friend who will be putting back up a wall to divide the kitchen and our dining room (currently used as my sewing room/ dining room/ junk room) with Mr Domestic as his trusty sidekick. This originally was I assume a bedroom and at some stage the previous owners decided to take out the wall to open up the space.

Unfortunately it didn't really work that way as it still feels awkward and well we really need an extra bedroom!

The only positives to the shoddyness of this original modification was that it really prompted us to get our act together and polish the floors. Before the boards were polished and this little bit was repaired there was a real possibility that you could fall through to the ground below. Just imagine where this secured cross beam was we had a rickety plank of wood that was kinda wedged in place. It was also a horrible little hidey hole for all sorts of gross out creepy crawlies to come out of mmm......


Just so you get a point of reference, this is what the room looks like right now from our kitchen....


Not very inspiring is it?

Please excuse the mess! I have noticed whenever anyone has a room that doesn't have a defined purpose it ends up as the junk dumping ground - thats my excuse anyway

Here is some progress.....


To support the new gyprock, we need to put in a frame you could do this out of wood but works just as well in steel. I haven't taken a picture but in addition to the outside frame, you need to add internal bracing. That keeps the gyprock nicely in place.


Gyprock up and plastered! All we need now is the skirting, a couple of coats of paint and we are in business!!


While the boys are busy doing all the easy stuff, I've been hard at work looking through paint schemes at Bunnings and trolling second hand stores and the Internet for bargains for Little B's room.


Now to decide on a colour for the new room!!


Make sure you check back for part two

xo


Bloody Mary Oyster shots


Mr Domestic is a big fan of oysters, so for something fun and a little different at our chistmas lunch, we decided to make bloody Mary oyster shots.


Oyster shots


Despite a few reservations about these from a few of our guests, they were a hit and we didn't have a single one left! This recipe has made into our keepers folder for sure, Mr domestic was a bit cheeky and made extra bloody Mary to have some ready to go for a "boxing day" pick me up.

To make 12 shooters -
500ml chilled tomato juice
160ml chilled vodka
2 tbs Worcestershire sauce
4-6 drops red Tabasco pepper sauce, or to your liking
Freshly ground black pepper and salt to taste
12 fresh oysters, removed from shells
12 x 8cm long strips of celery, for garnish

Combine tomato juice, vodka,Worcestershire, Tabasco sauce and season with salt and pepper in a jug and set aside. (You can make this well in advance if you like)

Divide oysters between 12 shooter glasses. Fill the glass with tomato mixture and garnish with a strip of celery strip.

Serve immediately and enjoy!


Just an FYI this is NOT the Bloody Mary mix that the bump and I are enjoying!

Cheers everyone xo


Related Posts Plugin for WordPress, Blogger...