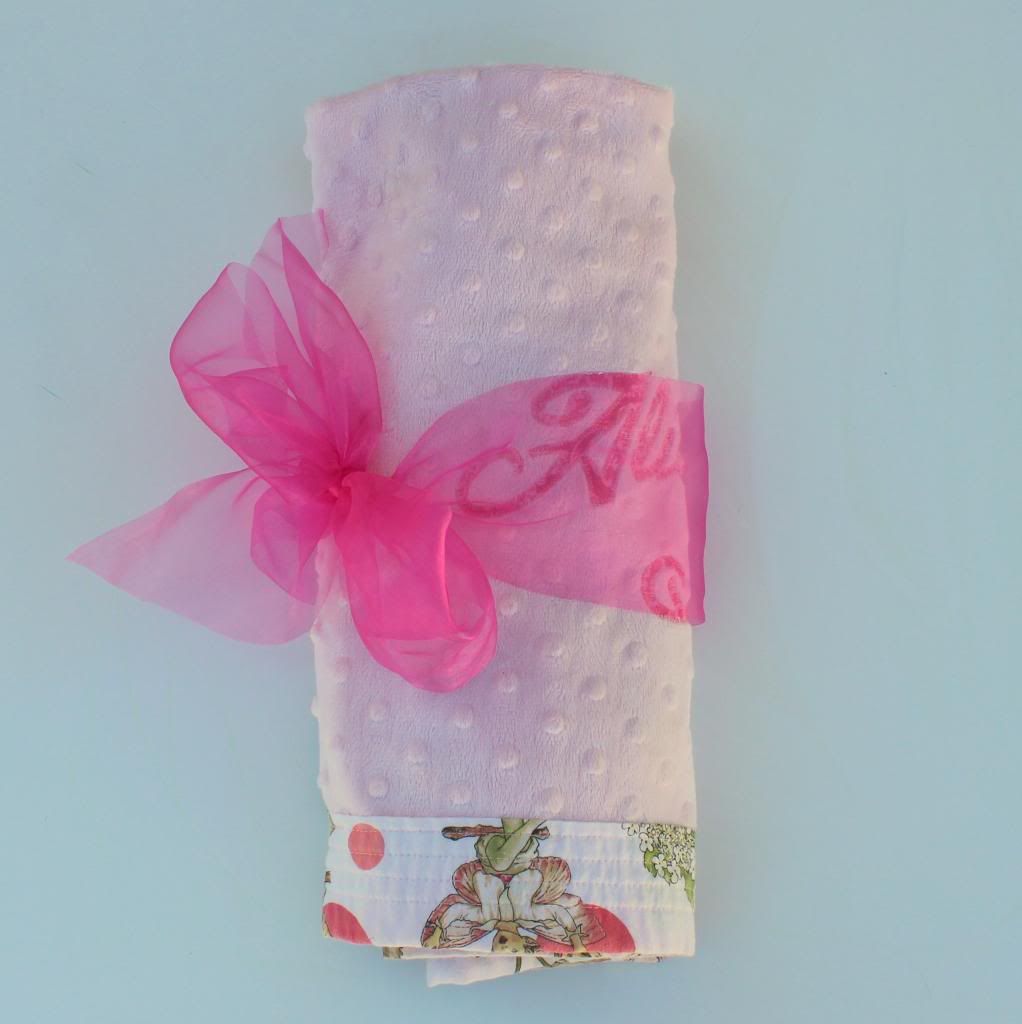
A few days ago one of the lovely mamas in my mothers group had her second baby yay! If I wasn't already expecting my own I would be feeling very very clucky.
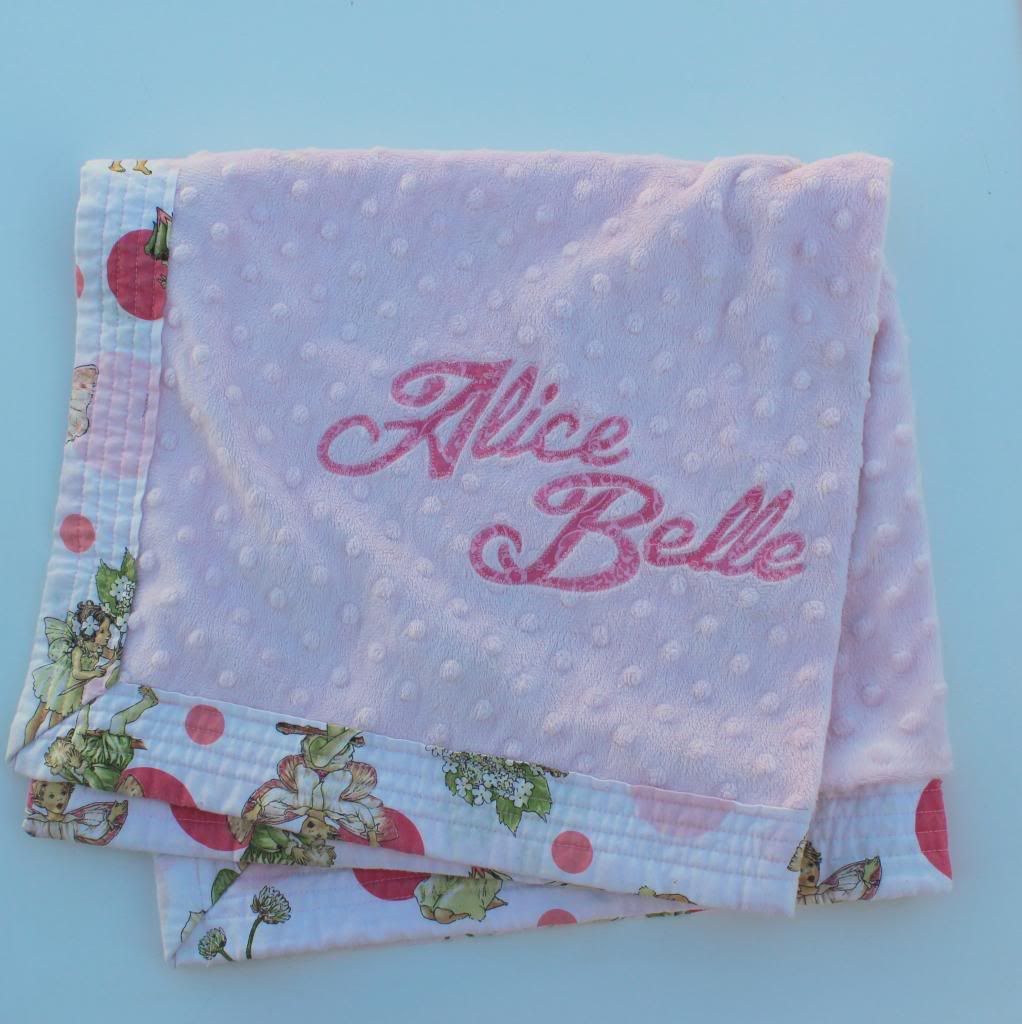
I wanted to do something special for this little one so I have made minky a self bound baby blanket, and just to be extra fancy appliquéd her name on. There a few tutorial versions of this blanket floating around the net right now but I'm biased and like mine the best as I think the binding finishes it off much nicer plus I should mention its
super easy!
Doesn't it look cute?
You will need
1 - 80cm x 60cm rectangle of minky of your choice
1 - 90cm x 70cm quilters cotton (I like to start with a bigger piece and cut it down to size once you have the minky ready.)
Coordinating thread
Hand sewing needle
Pins
Optional if you want to add an appliqué
Coordinating cotton scraps (big enough to get all your name letters on)
Heat and bond
Tear away stabilizer (lightweight interfacing works just fine too)
Printer
First things first, decide on a font you like that's nice and chunky (and easy to appliqué around) to type out the name. You can either pick one you like from word or just use google to find a free one you are happy with. Type it up in word and do a quick copy and paste job into paint to flip it to a mirror image. Enlarge it to the size you want and print that sucker onto a sheet of paper. You could do all kinds of things to reverse it but I'm lazy and this is the easiest way I know how.
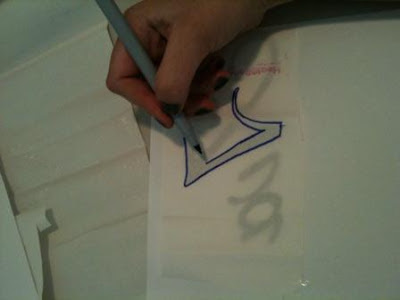
Once it's printed you want to place the reversed image right side up and the heat and bond on top (glue side down btw) to trace the text. Then using your scissors cut it out all nice and neat like this..
(Don't make the rookie mistake I have in the past by using your big old fabric scissors use the nice little ones that make fiddly bits easier to work around!)
Peel of the backing paper, position your transfers and iron it on following the heat and bond directions. Pin some interfacing on the back of your minky behind the transfer. The interfacing just helps to stop the minky slipping around all over the shop and driving you crazy.
Yay it's looking cute already!
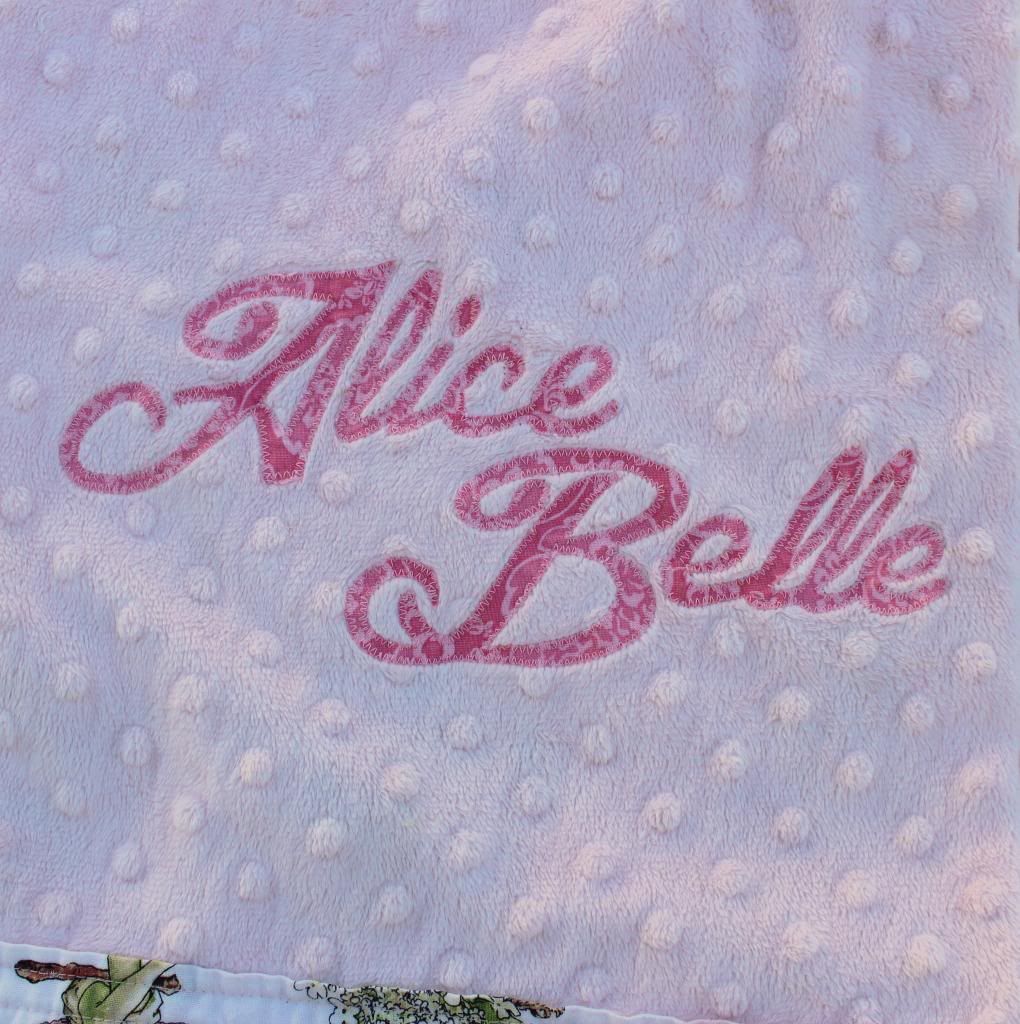
Do yourself a favour and before you go all appliqué crazy, work out the ideal settings, tension, width etc on a couple of scrap pieces first. My machine is on regular zigzag 3 for tension, 3 for width and in between 0-1 for length but it may be different on your machine. You really want a nice neat zigzag that's nice and tight like this. I would really recommend using an open toe foot too if you have it as it will make the job easier, don't worry if you don't, you will just need to be extra careful.
Now let's get sewing
Starting halfway along a nice easy straight bit position your needle so the centre line lines up with the outside of your appliqué fabric. You are going to try to keep it lined up like this the whole way. Go slow, lift your foot and turn as necessary and whatever you do avoid the temptation to pull and stretch the appliqué into the right spot, just keep lifting that foot and moving it gently. Once you get back to the start run a few stitches over and back to keep it in place.
Once you have done the appliqué, we can finally get onto putting it all together.
Place your cotton down first wrong side facing up and lay your minky right side facing up on top. You want to spend a bit of time here smoothing it all out so it's nice and neat. Using a ruler, manipulate the minky so it's got a 5cm cotton border on all sides. I like to cut my cotton now rather than earlier just to make the job easier. Oh and make sure you are pinning as you go to keep it all in place.
Press one side in half which will take you to the edge of your minky
Press again to take it 2.5 cm over the minky edge and fold the corner like this.
Now we are going to do the next side the same way, folding over once, pressing then folding again. Look how nice those corners are! Pin the corners and binding in place as you go so it stays put for sewing.
When you get to the last side, fold over the first side corner first before pressing, then we are all ready to sew.
There are a few ways you can finish off, if your happy to hand sew you could use a ladder stitch to secure the binding, if not you can just machine sew it. I'm going to machine sew mine as its nice and quick and will still look good.
You will need to do a teeny bit of handsewing to finish up. See these bits? You need to do a ladder stitch to secure them down.
If you are unsure about how to ladder stitch, there are heaps of good YouTube tutorials that can show you how (trust me it is not hard!)
Yay we are all done! Fold it up nice and tie it up with some ribbon and the new mummy will love it!
I hope you enjoyed my first tutorial
Now don't be shy please feel free to comment with your feedback or link your own versions of the baby blanket I would love to see them and I love comments!
Dani xo


