Wednesday 23 April 2014

Project owner build - Stage one

1950's house renovation

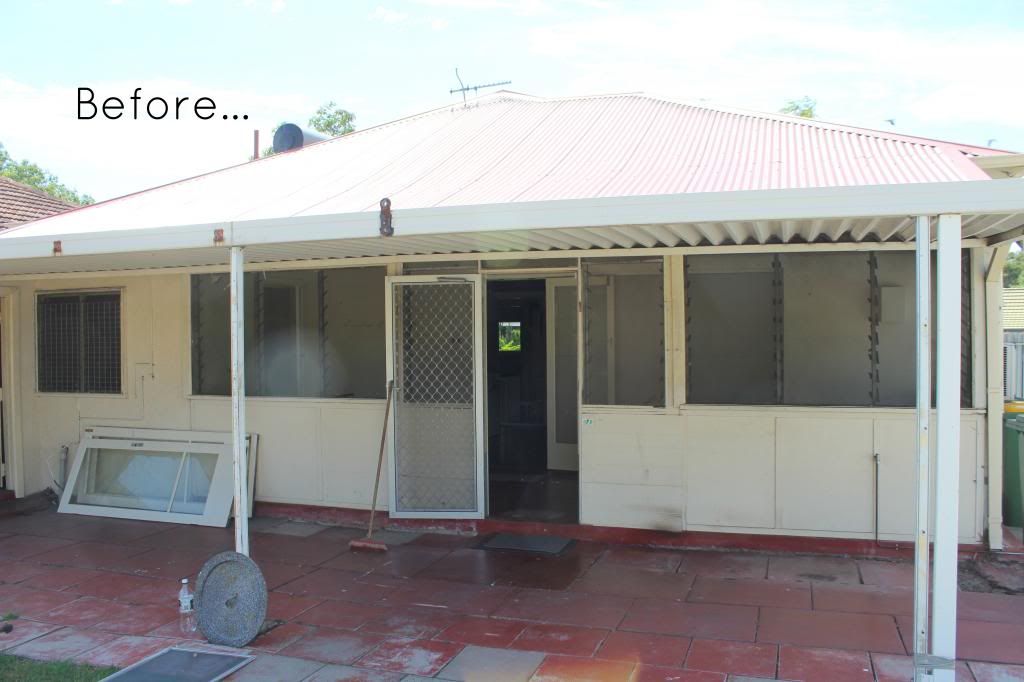
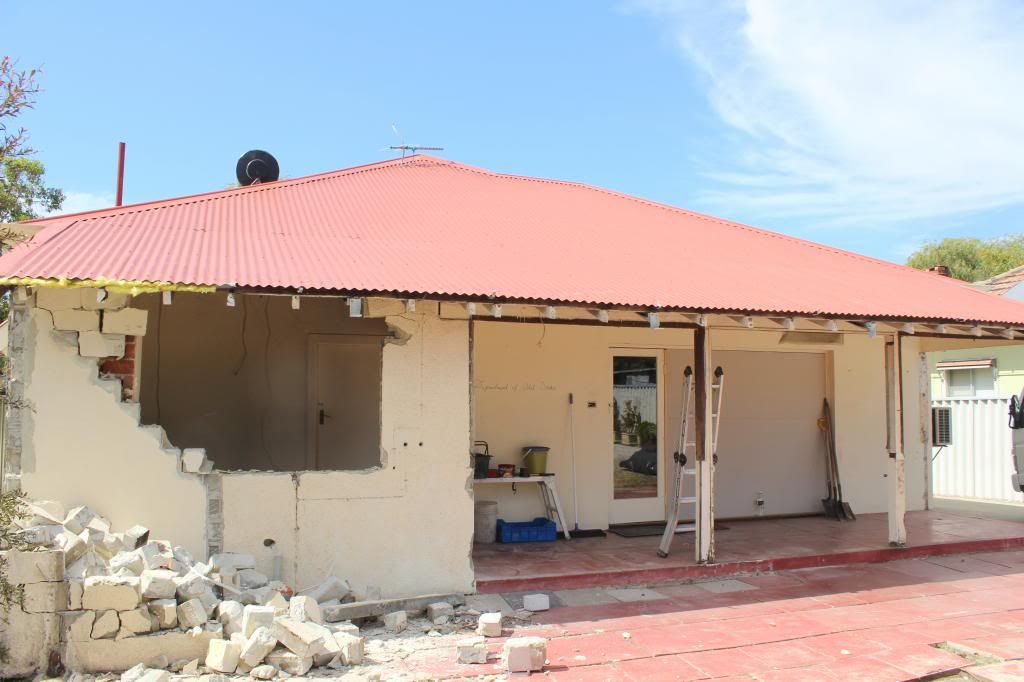
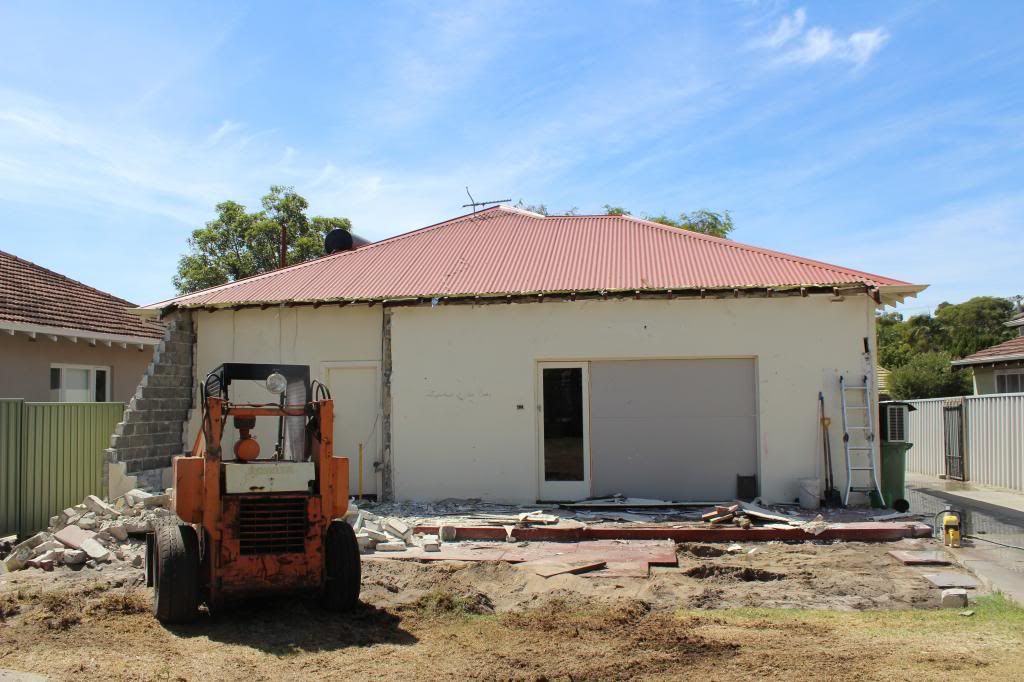
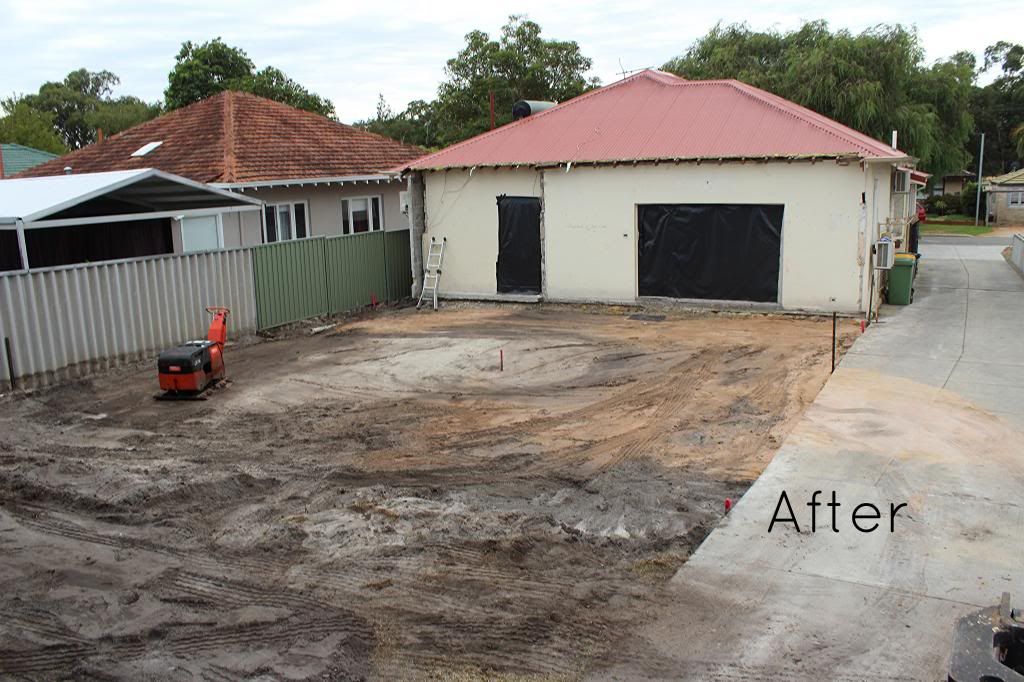
As we are doing our renovation as owner builders we naturally have to fit it in around work schedules. You possibly already know Mr DD is a FIFO bloke so is currently away on one of his money earning expeditions and while he is away things are a little quiet round here at the moment. It has worked out well for us though as we have been able to break the build process up into stages. After some fast work taking that sleepout down and getting the site ready for concrete, we are steadily moving towards an actual complete house again.

Once the site works were finished, Mr DD hired a compactor and compacted the crap out of the area where our new concrete slab was to be poured. I am not kidding here when I say he compacted the crap out if it. The ground around shook so much our pictures on the walls went wonky and we had big cracks opening up across the back of the house. Now I may have just written lots of helpful ways to reduce stress here but I failed to follow my own advice and this was a major freak out moment for me.

Maybe you can learn from our experience and NOT take photos every ten minutes of the cracks in the walls to compare if they have gotten any bigger. Ours did and so did the level of crazy freaking out-ed-ness (yes that's a word I invented it).

Poor little B was made to sit on our bed at the front of the house with books and toys for a good few hours and probably will now have a life long fear of the roof collapsing in on her after hearing me ranting "OMG the roof could fall in call someone, call someone, the cracks in the walls are getting bigger.... AHHHH there's DUST!!!!!!"

perth home renovation
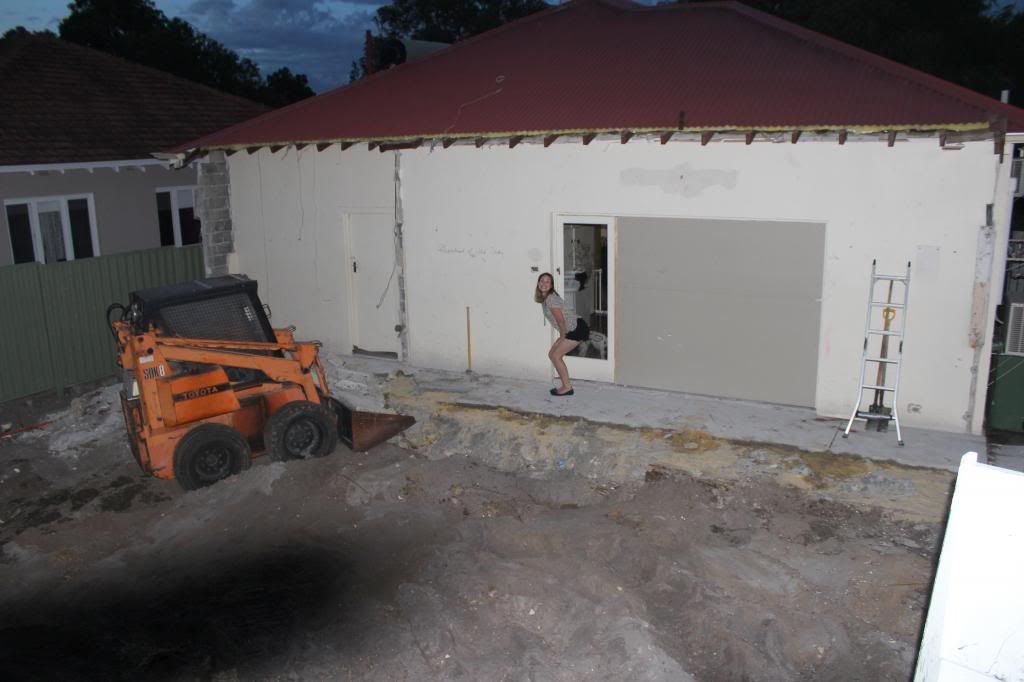
So now to stop the walls falling in we have steel bolted to the wall holding it all together EEK

Ok so back to stage one this is what we did..

Ordered a compaction test to certify that the ground was compacted sufficiently. We blitzed this one as Mr DD was very heavy handed with the compactor. You only really need to do this if you are getting a concrete slab, in our case we are opting for polished concrete which we really really don't want to crack hence why Mr DD was super thorough.


Plumbers first fit out. Our plumber came out to site and dug and laid all the pipework for water, wastes and the toilet.

** Our first structural steel arrived on site- The eternal alfresco beams. These needed to be set at the correct angle and due to engineer specifications needed to be set into concrete at a depth of 1mtr. This was done in preparation for the concreters arriving so they could pour the footings

perth home renovation
You can't see in the picture but there is some serious wire string going on to hold the beams in the correct place here, Such a tricky job but the boys did well to get it into place. Also you may notice Mr DD with the leaf blower- he also hates dust and we have the cleanest building site ever.
Concrete form work and footings dug. You can see the formwork and pipes in the above pic.


Concrete pour- This was so exciting to watch the first real tangible part of our new home!


Perth renovation

owner builder home renovation

our renovation project supervisor
Hendrix the disaster dog wondering what I'm doing hanging off the forklift - Anything for a good shot
1950's home renovation
One day I will get a great photo of us both looking at the camera, not doing something weird.

First grind of concrete and protective coat. This was done over two days about a week after the slab was poured. This first grind exposed the aggregate we have in the mix and gave us our first glimpse of what our final floor will look like. Once they had ground the slab they put on a protective coating that the grinder described as a kind of grout glue which has now set.

polished concrete flooring

bluegum, polished concrete flooring
A close up of the polished concrete before it was covered with the grout. The final result will be like this but the concrete will look a little lighter.
Just in case you are interested our concrete polisher is DS grinding, if you would like some info on it please feel free to drop me a line!

Now the slab is just sitting out there, I like to take house guests out there for a "tour" of our new extension. I am having the usual freak out that its all too small, but I know that it always looks small when you just stand there looking at the slab.

With the concrete down and setting nicely the real work of stage two is about to begin eeek! Although we are owner builders and doing most of the work ourselves we have got a few trades coming in to help out so we should get the walls and roof up quite quickly. While Mr DD is on his trip away we are just finalising the steel framing, windows and doors if all goes to plan these should be on site and ready to go up before we know it.

Dani xo


Wednesday 9 April 2014

Project Owner build - Minimising stress

Well hello there! I'm still here and (mostly) still sane despite all the dust and scary cracks appearing in the walls and ceilings.

If you have ever watched the block or a home renovation show you might have noticed the varying levels of freak outs that people tend to have when building and renovating and if you have renovated yourself you will know first hand exactly what I am talking about.

A broken MrDD after a huge weekend getting Ally's room ready, Block FansvsFaves winners Chantelle and Steve and Josh and Jenna all having meltdown moments IMG credit news.com.au & ninemsn.com.au

I am not the most laid back of people and I tend to wind myself up about small things like dust pretty easily so I am sharing some of my tips on how to reduce the stress that have worked for crazy old me.


  • Allow more time for jobs you are doing yourself than you think you will actually need ESPECIALLY  if its something you have never done before. Our siteworks were ticking along nicely until the bobcat unearthed two massive leach drains that had to be removed meaning we lost a whole day ripping them out, and filling the giant hole they left back in.

  • If you are planning to stay living in your home while you renovate, spend extra time to prepare the house to make it as comfortable and livable while you are doing the build works.


  • Again if you are staying at home, have a big de-clutter and clear out of anything and everything you don't need immediately or can live without for the time being. Put all the stuff you don't need but don't want to get rid of into storage.

  • Keep a close eye on your budget and ensure that the money is being spent in the right places, think of the bigger picture over the finer details that can be completed later on down the track. 

  • Try to maintain at least one room as a "sanctuary" that is clutter and dust free as possible. There might be times when the mess drives you mad so somewhere that looks half reasonable and clean can be a godsend.

  • Where possible set aside time to relax and have fun, all work and no play makes Jack a dull boy as they say. If you don't have an urgent deadline make sure you take a breather once and a while. Occupying every waking moment with plaster and a hammer is exhausting.


  • Try and maintain your sense of humor, the phrase if you don't laugh you will cry springs to mind. 

  • Stuff WILL go wrong that's pretty much a promise - just take a deep breath and keep on going. If you follow me on Instagram, you might have seen my photos of the HUGE cracks that have been appearing in our walls and ceilings eeek!! You can also read about our paint fail for Ally's room HERE.

  • Remember to communicate with your partner (if you are part of a couple that is) even on the smallest of things. Discuss your plans and what you have in mind clearly- failure to do so may mean your new colourbond roof is Federation red when you actually wanted Dune...... 
Ok it still looks nice so I am really truly over it now but I can still lament. IMG source colourbond.com


  • Don't forget that you both (pretty much) want the same thing at the end of the day which is a beautiful home, that might mean a compromise and possibly a red roof.

Phew! Have you renovated before?? What would be your tips to minimize stress? Or do you have a horror story? I always love to read your comments so don't be shy!

Dani xo

Monday 7 April 2014

Edible finger paints


While all the building is going on right now, we are quite restricted in space, this isn't a big problem as we are making it work but on rainy days it is PAINFUL to keep two very active children entertained in such a small space unless of course they find something that is messy and fun that I can also contain. B is mad keen  on painting and general mess making like most three year olds and her little sis Ally is really into everything that B does so finger painting in the kitchen sounded like a super idea.

This is the recipe I like to use as it's quick and made up of stuff that's usually in the pantry HERE. It lasts a while in sealed glass jars and it's got an interesting gel texture that my girls really love (to eat).


It takes quite a while to dry AND go easy on the food dye - If you are planning to take your kids out later maybe don't give them blue but it is super fun and looks all shiny and textural when it has dried.


I toyed with an alternative title for this post of how to turn your kids into blue smurfs but thought it might not be so popular a search in google...

Now I'm off to scrub my rainbow coloured children so I can take them out of the house tomorow.

Dani xo

Thursday 3 April 2014

Project Owner build - Demolition day

Our house is a pretty classic 1950's house from Perth, if you can picture a box with a front door and hallway with the rooms running off it that's pretty much it.

Back in the days before air conditioning most old homes had the addition of a sleepout tacked onto the back end of the house, this was usually a makeshift enclosed veranda with louver style windows to open out and let in the evening breeze**. The whole idea was that the family could sleep out there in the stinking hot summer and not cook to death inside. You can read all about our sleep out here if you would like to take a look.

*** Just a bit of useless trivia for those not from Perth we call the evening breeze that rolls in The Fremantle doctor

Thanks to this UGLY addition on the back end of our house, its actually made the demolition process somewhat simpler. To get the back of our house ready for the build, we just have to take of this back end which means we can continue to live in the house while we are working on the new part. This is a good thing (if I can deal with the dust) as it will save us a LOT of money in renting somewhere else to live in the meantime.

Now onto the business end of things - Mr DD and some friends did most of the demolition work as part of our cost cutting, to get a team in to do this would have cost us thousands which we didn't want to shell out.

To demolish the back of the house this is what we - and I really mean Mr DD did.


1. Gyprock up the french doors to a single door opining. This was important for me especially as I hate the dust involved in building (ironic I know) and I also wanted to ensure the disruption to the rest of the house was minimized and the house still felt secure. It was sad to see these lovely glass doors go but we plan on salvaging them to use later on down the track.

To gyprock up this wall we used much the same process as we have here although we haven't finished it off with plaster and paint yet as this is more of a temporary measure for the time being.

2. Pull back and disconnect the services. As I have mentioned before our creepy laundry was also in this part of the house so water and power had to be pulled back. Mr DD is a qualified electrician so can do this if you are going to undertake a job like this and are not qualified GET SOMEONE WHO IS TO DO IT (sorry to shout but it only takes one mistake to put your life in danger so its worth shouting about) not to mention it is also illegal to perform electrical work without a licence.

3. Taking down all the loose auxiliary fixtures and fittings. This means removing the window louvers, shoddy tacked on tin veranda guttering and down pipes.

4. Asbestos removal- Unfortunately we had asbestos cladding on the walls and laundry ceiling that needed to be removed. We made use of a licensed asbestos removal company for this part and I took the two little ones out for the day. I was nervous about this part for obvious reasons having young children so I am happy to know that it is all safely gone.


5. Change the flat bobcat tyre (its not a home DIY job until something goes wrong)

6. Take out the roof ceiling and walls. There has been a fair bit of sledge hammer swinging here as although the sleep out section was just a wood clad frame the laundry and outdoor toilet are double concrete brick.


7. Remove the concrete slab from the sleep out and laundry. There is obviously a reason the house survived an earthquake here back in the 60s the original owners built this house on a serious heavy duty slab. While we were able to remove the slab to the sleep out ourselves as it was poured separately to the house, the laundry slab was attached to the main part of the house so called in a contractor to cut the concrete for us

Here we are the night before the last of the slab is cut cut away... I am not really sure how to explain this pose other than it seemed like the right thing to do at the time...


There we have it folks, one sleep out and lawn gone forever..


Although it doesn't look like much, this was a good week worth of work to get to this stage. While removing an old tree stump and the old unused soak well, the hubs uncovered two huge old concrete leach drains which had to be dug out. Fortunately we were not using contractors to get this removed if we had it would have been a big budget blow out. As it was we needed an additional 30 square meters of dirt to fill in the big old hole they left.

So far removed for the glamorous life you see on the block sorry to say but much more exciting for us.

If you could pick a part of your home to demolish would you? Or if you have any tips for dealing with the mess and dust? (eeek!)


Next up I will be writing about minimizing stress while building.

Dani xo


Related Posts Plugin for WordPress, Blogger...