Monday 27 October 2014

A hiatus..


Sorry I haven't been around much lately, something quite sad happened last week - my trusty old laptop breathed her last breath and stopped working forever. She's had a hard life with the kids wrestling, sitting, buying things of ebay (kidding on this one) so I can't complain but the timing really sucks. That's because I have so much to share with you!

Unfortunately it will all have to wait now until my new office space is set up and ready to use.

 If you would like to keep in touch you can follow me on Instagram or facebook or you can sign up with blog Lovin (all links are located in the sidebar on the right) and as soon as my next post happens in a few weeks it will give you a handy notification in your email!

In the next month I will be showing off my NEW kitchen and bathroom (and they are pretty good if I do say so myself) finally getting round to showing off a very cute bedside table make over AND an interview with another owner builder couple. 

Chat soon 

Dani
X


Tuesday 14 October 2014

8 simple Ways to save money on a home renovation

home renovation budget


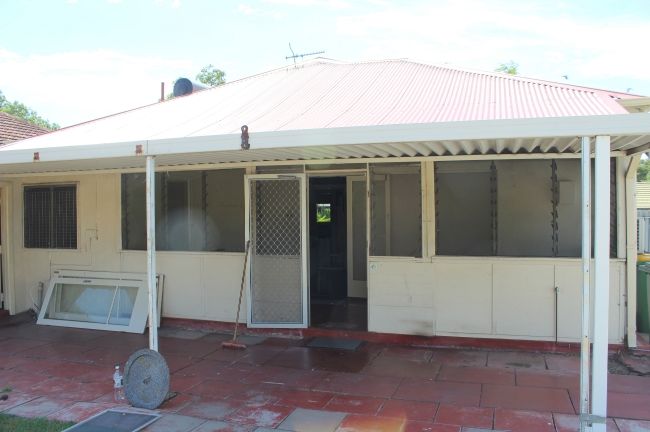
We knew it had to happen, for lack of a better word we are hemorrhaging money right now, but that's ok we knew it had to happen. All of our trades want paid and we would like to move in one of these days - but that doesn't mean we haven't saved ourselves a lot of money on our home renovation. Today I wanted to share with you our best tips for saving money on a home renovation that have worked for us.


1. Shop around - this is obvious but it takes a lot more work don't take the easy option and go with your first price!  Investigate alternate products and brands, do you really need the top of the range stone in your kitchen or is there a comparable alternative?

2. Offer cash/ pay upfront - this goes for pretty much anything you purchase and services you use to get the job done.

3. Barter and call on friends - got a skill you can trade for with a mate? You never know unless you ask!

4. Trade accounts - Talk to your plumber/ electrician/ tiler about purchasing fixtures and fittings through their account this will often save you a lot of money as they have access to trade prices

5.Ask for a better price! - Again it's obvious (I am completely terrible at it but getting better so the hubs is our negotiator) let your suppliers know if you have been quoted a better price and ask if they are prepared to do better to get your business - they worst they can say is no!

6. Alternative sources - Visit auction and salvage yards and trawl gumtree classified ads. If you know what you are looking for and what you want to pay this can be a great way to snap up a bargain.

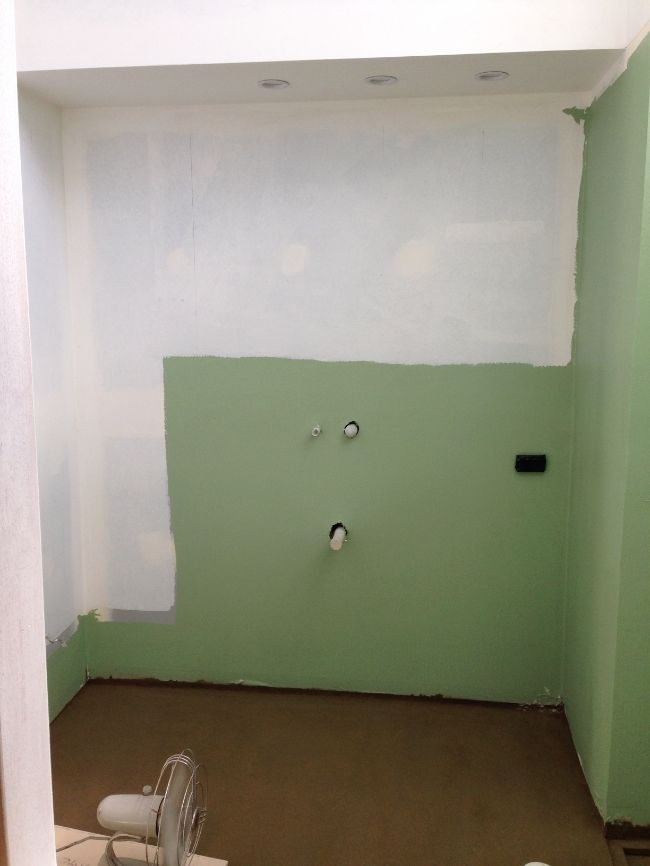
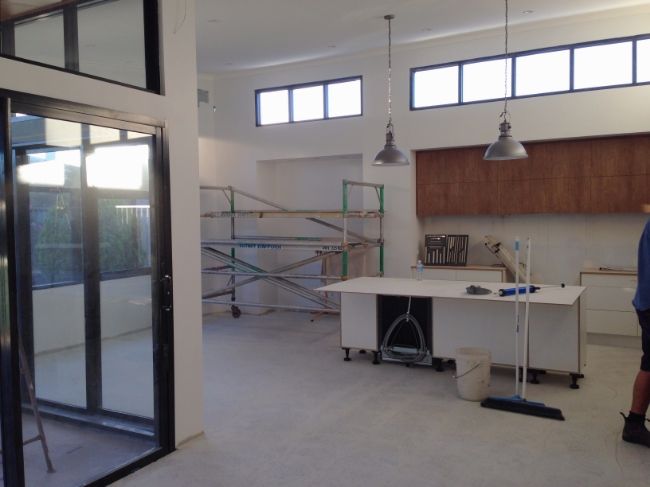
7. Decide on where to splurge and when to skimp - Sometimes it can pay off to spend more for higher quality in some areas and cut back on others that don't have the same impact. For us that means stone benches and custom cabinetry in our kitchen and then cheaper flat pack diy cabinetry for our laundry.

8. DIY - I'm not talking highly skilled or dangerous stuff but a lot of money can be saved in doing things yourself e.g demolition, painting, paving/ landscaping even the project managing ourselves has come with significant savings. 

Just so we are clear you might like to know of some ways to NOT save money-
Have champagne tastes on a beer budget
Insist on bathroom underfloor heating
Notice that the hot water system is about to die and needs replacing
Change your mind about extra windows, bigger rooms and fancier light fittings. 
Go for the thicker stone bench tops and the fancier lift up overhead cupboards..

Can you tell I'm speaking from experience here?

Ultimately our own renovation possibly would have cost the same if we were to have gone through a builder, however the savings we have made have meant much higher end finishing's than we would have otherwise used. If this had been a renovation for profit project or we had a tighter budget we would have certainly scaled back on those extras but they are nice to haves.


Are you a DIY'er or a leave it to the pros kinda person? If you have any good advice on how to save money on your home renovations please share below!

Dani x

** If you are planning to undertake a big scale home renovation as owner builders, I can't recommend enough engaging a building estimator to come up with a costings estimate of your project. This is a great way to set a budget and get an idea of where to start!

Wednesday 8 October 2014

Project owner build- the latest

Keeping my promise this week I have some updates on our home renovation! It's been another crazily busy few weeks while the hubs is home but we are so happy with our progress.

This week the tilers are here putting our tiles down and the texture coaters will be here at the end of the week to transform the exterior from that lovely blue cement board to something a little more conventional.

Power isn't connected yet but most of the lights are in and the wiring is almost done. Possibly the best bit about having an electrician husband is that I can be a total pain in the bum insisting on OTT lighting and he just goes along with it (mostly).

In the next fortnight our concrete floors will get the final polish, this is one thing I cannot wait for as it will mean no more dust!! Once the floors are finished the rest of our kitchen can go in. As nice as the plyboard benchtops are (joking) I think we might go for something a little more robust!

Just in case you had forgotten, this is what the back of our house used to look like..


And how it's looking these days...


I know the blue is nice right?!

plyboard paneling
Rather than go for the usual options of gyprock or wooden paneling for our alfresco ceiling, we really wanted to try something different so opted for plyboard ceilings. The house is modern enough to pull it off and there isn't actually a huge cost difference between ply and gyprock.

There is however a bit more work that goes into installing them as they need to be exact cuts, and the channel spacing between each board has a long strip of wood painted black behind it (so it doesn't look ugly). Overall we are pretty happy with the look and I think it will look great once its all finished.

ply board outdoor ceiling
The hubs is ready to install our external downlights after carefully cutting out the spaces. This was a bit of a nail biting job as the ply can't really be repaired well if the cuts are not perfectly neat.

A quick pic of our new  laundry with the tiles down. I am so so happy with these sadly my horrible iphone photos really don't do them the justice they deserve. The wall to the left will have benchtops, the sink, dryer and washing machine plus overhead cupboards and the wall to the right will have a wall to ceiling built in cupboard with sliding doors for linen, vacume, mop and household junk.


I couldn't get into the ensuite this morning to take better pics as the tilers and cabinet makers were all in there so these will have to do for now. We have a beautiful floating vanity and towel cupboard sitting in here with a benchtop that matches the kitchen cabinetry. The floors will be the same as the laundry with my precious hexagon tiles to go across this wall. If you have instagram and you are following me you might just get a sneak peek later of the bathroom..

Then looking through from the powder room toilet that high window lets in so much light I love it. I also am quite partial to the pendant lighting in here, it is actually 3 lights joined together with a special cover plate to make it look nice and neat. The stunning green colour in case you were wondering is the waterproofing membrane.

Then some shots of the main open plan area.

Looking out to the new dining area, I am especially looking forward to enjoying un cramped dinners with the girls here in the months to come. The view into the garden is also really nice despite all the building refuge and bits of steel laying about.


Looking back towards the original part of the house, the walk in pantry to the left of the picture, fridge and study nook (which I will probably take over with my sewing machines)

So that's it for now! Hubs is back to work for another fortnight and I am sure he is looking forward to the rest. When he comes back we will be moving out of our bedroom temporarily while the doorway to our walk in robe is cut. I'm not looking forward to the insane amount of dust that will accompany the job but oh to have a walk in robe for my clothes and shoes (and some of the hubs of course)

Hope you all love it as much as we do!

Dani
x

P.S I always love to hear from you, so if you have any questions or enquires about trades, products or services please don't be shy! I have also included a couple of the services and products we have used that I wouldn't hesitate to recommend (none are affiliate links in case you were wondering).

Gyprocking and plastering - All Dec ceiling and wall specialists

Asbestos removal and roofing - KBE Asbestos and roofing contractors

Tiles - Myaree ceramics

Architectural design and drafting - Design Pitch

Kitchen and bathroom cabinetry and stone - M&M cabinetry 

Thursday 2 October 2014

Friday finds

Be still my beating heart, how I love beautiful quirky chidren's illustrations and art. If you have not heard or seen the work by Schmooks by now you are probably missing out.  

The artist behind Schmooks, Claire Cimbora is based in Canberra and is also a mama of three. Her work is whimsical and timeless full or quirky characters and magic.

ONCE UPON A TIME, there was a little girl who loved rabbits and kites and pink and all the enchantments of childhood. That little girl grew into an adult but her heart continues to pitter-patter with the wonders of make-believe.

A few months back I shared a image of one of their new wall decals on instagram


These are perfect for a serene and calming nursery or play area for your small people. Made without vinyl they have a lovely fabric texture and can me moved and re-positioned without damaging the walls or falling apart.

For those who are not a fan of decals, Schmooks also have a growing range of completely darling prints which can also be customised to suit your decor.


Then there are these beauties...


When I was a little girl I had a pair of Clarks magic steps *** If you have no idea what I am talking about you can see a very vintage ad for them here)*** as soon as I saw these pendants it took me straight back to being a little girl, those shoes with the hidden picture on the sole and the wonder and excitement of a magical secret world.

I ordered one as soon as they came out for one of my good friends and it was as beautiful in real life as in the pictures.

If you want to have a look at more of this beautiful range you can find the Schmooks shop here or to read more about Claire and her work you can visit here

Dani x

**All image credits to Schmooks www.schmooks.com.au
Related Posts Plugin for WordPress, Blogger...